A closer look. From every angle.
Explore the exterior in 3D. Watch the film to discover integrated laser and atmospheric MIP decapsulation.
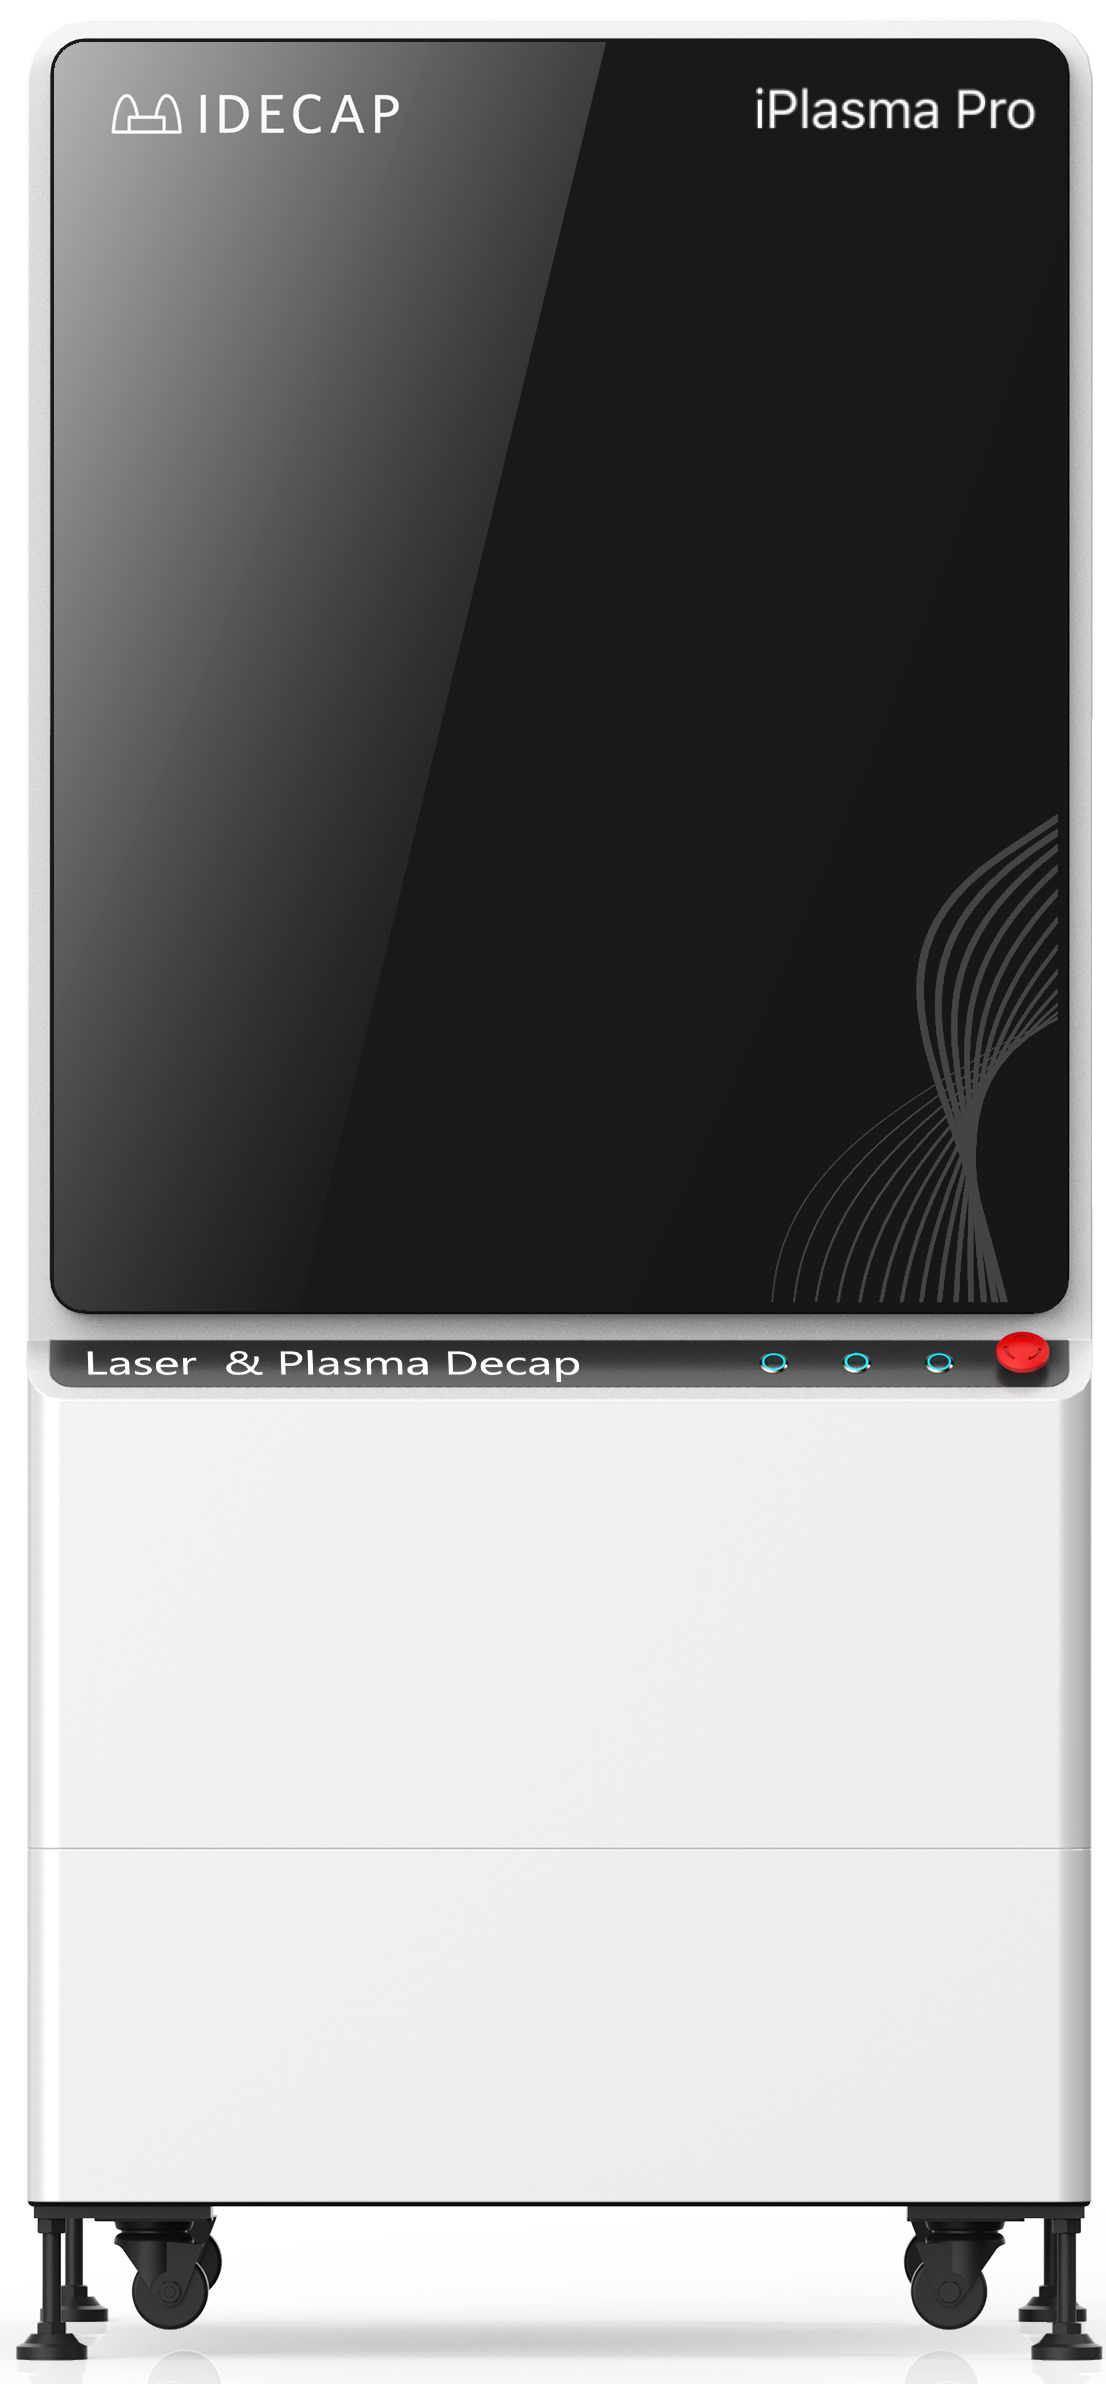 Preparing 3D view…
Exterior visualization. Actual configuration may vary.
TWO TECHNOLOGIES. ONE SYSTEM.
Laser Decapsulation System + Plasma Decapsulation System = Laser & Plasma Decapsulation System (In-situ Decapsulation System)
iLaser creates the opening. iPlasma brings atmospheric-pressure MIP finishing. iPlasma Pro integrates both technologies with cleaning, blow-drying and imaging in one system for automatic in-situ decapsulation.
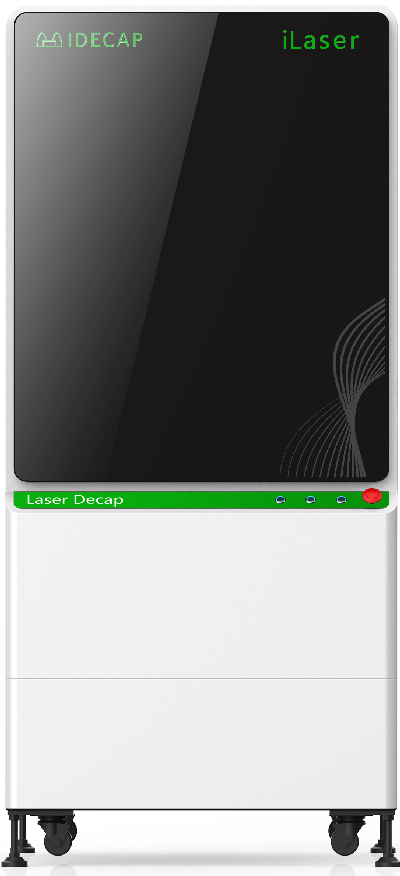
iLaser
Laser Decapsulation System
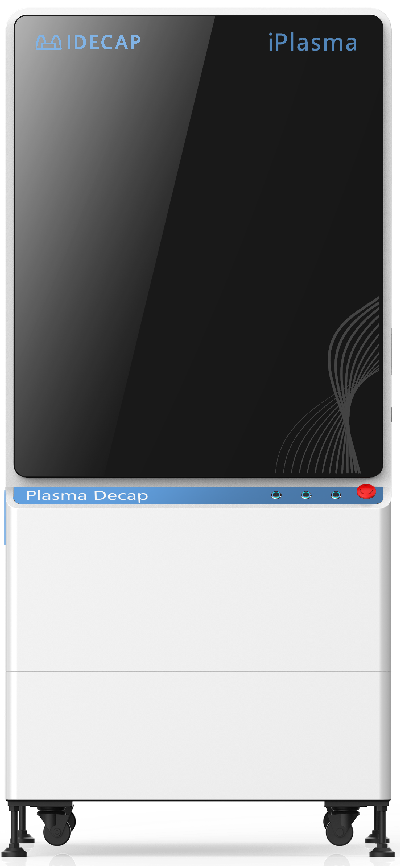
iPlasma
Plasma Decapsulation System
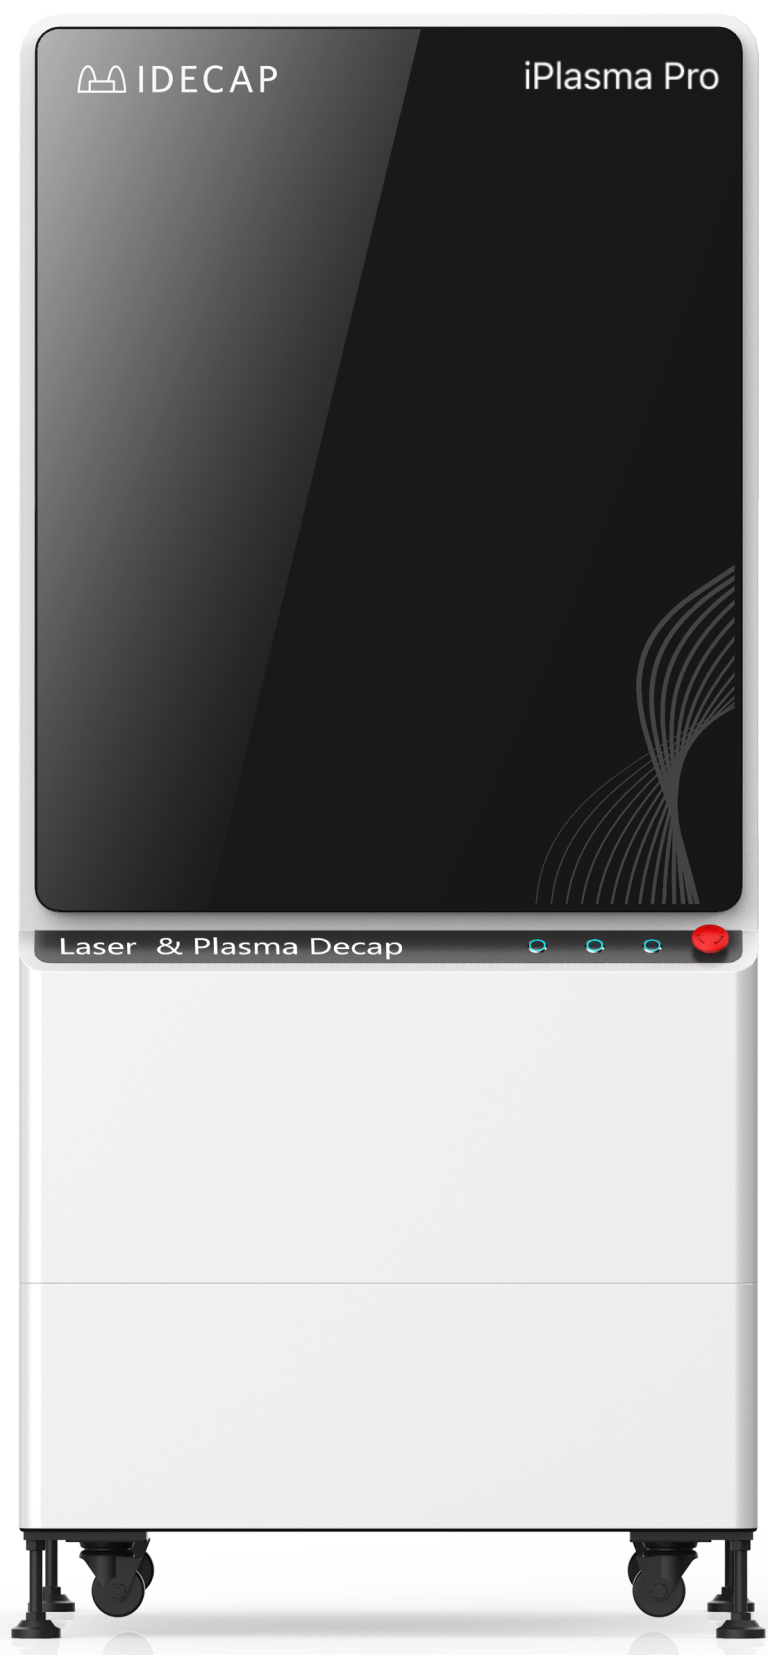
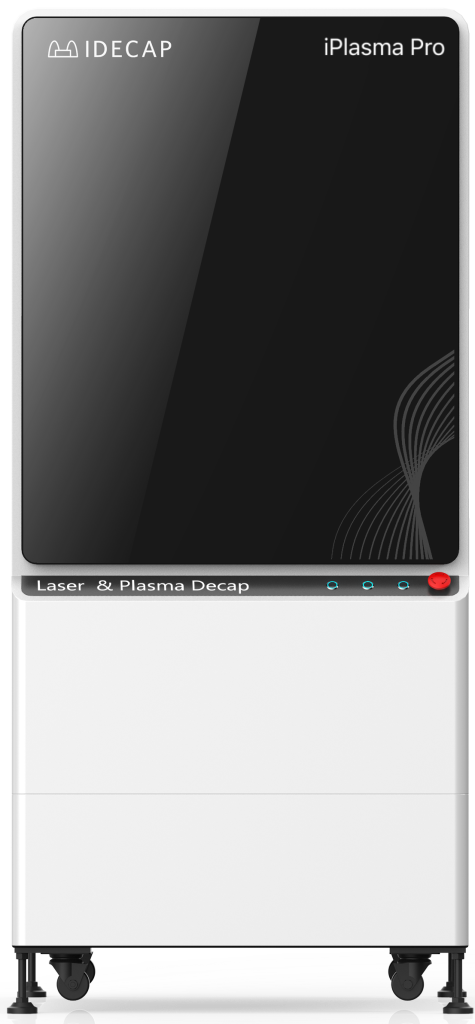
iPlasma Pro
Laser & Plasma Decapsulation System (In-situ Decapsulation System)
iPLASMA PRO · IN-SITU DECAPSULATION
Load once. Decapsulate in situ.
For the first time in its product range, ICDECAP brings laser and plasma decapsulation together in one automated platform. iPlasma Pro connects laser processing, atmospheric-pressure MIP, cleaning, blow-drying and imaging into a complete sequence within a single system.
Laser + atmospheric MIP / 5 connected process steps / Reusable recipes
What is in-situ decapsulation?
After the specimen is loaded and the cycle is started, each decapsulation step runs automatically inside the same system. Operators do not need to transfer the specimen between laser, plasma and cleaning equipment. The automatic cycle runs from laser processing through final imaging without manual intervention.
From sample loading to final imaging.
One start. Five connected process steps.
The operator loads the specimen, selects a validated recipe and starts the cycle.
01
Laser processing
Remove bulk encapsulant and create access for fine resin removal.
02
MIP plasma
Atmospheric-pressure MIP removes remaining organic resin to expose the target structures.
03
Automatic cleaning
Clean according to the recipe to remove processing residue and particles.
04
Blow-drying
Dry the specimen in preparation for clear imaging.
05
Automatic imaging
Capture the decapsulated specimen for result review and subsequent analysis.
Laser → Atmospheric MIP → Cleaning → Blow-drying → Imaging
Validate the process. Save the recipe. Repeat.
Understand the product first, establish suitable decapsulation conditions and save the confirmed settings as a recipe. For subsequent specimens of the same product within the validated range, recall the recipe and run the complete sequence with one click.
01
Understand the product
Define the package, materials, target region, and the die, wires and pads to preserve.
02
Validate and save
Confirm the laser, MIP, cleaning, drying and imaging settings, then save a reusable product recipe.
03
Recall and run
Load a compatible specimen, select the recipe and start. The system completes the remaining sequence automatically.
How does one-click decapsulation work?
After product characterization and process validation, save the product recipe. For a subsequent compatible specimen, load it, recall the recipe and start. One-click operation reuses a validated process; if the package, materials or analysis objective changes, confirm the process and update the recipe first.
MIP · MICROWAVE-INDUCED PLASMA
What are the benefits of MIP decapsulation?
MIP offers a controllable resin-removal route that reduces acid exposure and direct mechanical contact, progressively exposes delicate structures and aims to retain useful failure evidence. Selectivity depends on matching the recipe to the materials and validating it on representative samples.
01
Reduce acid-corrosion risk
An acid-free removal route for thin aluminium pads, copper and palladium-coated copper wires, and solder interconnects helps reduce changes caused by aggressive acid chemistry.
02
Approach delicate structures
Reactive-species processing reduces the need to keep scraping or grinding mechanically near fine wires, pads and sensitive surfaces.
03
Retain useful evidence
Progressively reveal metal filaments, bridging and adjacent voids so location, morphology and composition can be assessed together.
04
Support follow-on analysis
Where required structures and electrical paths remain intact, proceed to optical microscopy, SEM–EDS, bond inspection and pre-/post-opening electrical comparisons.
What is microwave-induced plasma (MIP)?
MIP stands for Microwave-Induced Plasma. In chip decapsulation, microwave energy excites a process gas to generate reactive species, primarily oxygen radicals, that react with organic encapsulation resin. Gradual removal exposes the die, bond wires, pads and interconnect regions.
ICDECAP uses an argon/oxygen process route focused on selective organic-resin removal. Inorganic fillers such as silica may require a separate cleaning step after the resin recedes. Organic materials, fillers and metals respond differently, so their endpoints must be assessed separately.
01
Microwave excitation
Microwave energy excites the process gas to produce reactive species for resin removal.
02
Organic-material reaction
Reactive oxygen attacks the organic matrix, progressively creating access to the target structure.
03
Exposure and inspection
Inspect residue, fillers and critical surfaces between stages, then proceed to microscopy, SEM–EDS or electrical analysis.
What is atmospheric-pressure MIP?
Atmospheric-pressure MIP uses microwave-induced plasma to remove organic encapsulation materials near ambient atmospheric pressure. No vacuum environment is required for decapsulation, simplifying sample loading, staged inspection and integration with other preparation steps.
01
No vacuum cycle
Processing takes place at atmospheric pressure, without the pump-down and venting cycle required by a vacuum chamber.
02
Designed for staged processing
Inspect the exposed structures between processing stages, then continue removal as needed. MIP can follow laser preprocessing or local opening with iMech Pro.
Which decapsulation problems can MIP address?
MIP is useful when the goal is to expose fine metal features, thin pads, buried interconnects or foreign matter that may be affected by acid chemistry or continued mechanical removal. It provides a finishing step tailored to the materials and analysis objective.
| Application / target | Preparation challenge | MIP approach |
|---|---|---|
| Small MEMS / thin aluminium pads | Acid may attack thin aluminium, changing the pad surface or causing pad loss. | Remove the covering resin without acid and inspect pads between stages.Explore the MEMS case ↗ |
| Stacked die / memory packages | Resin surrounds fine wires at multiple levels, complicating access without disturbing the interconnect structure. | Expose wire loops and pads in stages, then plan layer-by-layer analysis as needed.Explore stacked-die decapsulation ↗ |
| SiP / embedded passive components | Different dies, solder materials and organic resistor coatings coexist in one package. | Use DOE to establish a short exposure window and inspect as soon as components become visible.Explore the SiP case ↗ |
| Flip chip / micro-shorts | Residual resin obscures fine metallic foreign matter; acid cleaning or contact may disturb fragile connections. | Expose metal filaments and adjacent voids through organic removal before morphology and composition analysis.Explore the micro-short case ↗ |
| 3D packages / Underfill | Resin remains after precision grinding; further grinding or acid treatment may disturb micro-interconnects. | Create targeted access with iMech Pro, then use MIP for local residue removal.Explore the 3D-package case ↗ |
Stop at sufficient exposure. MIP can also remove organic protective layers that need to remain and may modify some material surfaces. Include gas recipe, power, temperature, exposure time and filler cleaning in DOE. Inspect at exposure and verify electrical preservation through measurement.
Laser for bulk removal. MIP for fine exposure.
Laser processing removes thick encapsulant while leaving a protective allowance near sensitive structures. Atmospheric-pressure MIP then removes the remaining organic resin. Both processes are connected within the same platform, followed automatically by cleaning, blow-drying and imaging.
Product and process overview
| Item | iPlasma Pro |
|---|---|
| Integrated processing | Laser + atmospheric-pressure MIP for in-situ decapsulation within one system. |
| Automatic sequence | Laser → MIP plasma → Cleaning → Blow-drying → Imaging. |
| Recipe management | Save settings after product characterization and process validation. Recall the recipe for compatible specimens and start with one click. |
| Packages to evaluate | SiP, high-Tg, GaAs, multi-material packages and EOS samples; confirm the process for the materials and structure. |
| Bond-wire materials | Gold, copper and aluminium; confirm conditions for the target surfaces and interconnects. |
| Reference etch rate | The source lists approximately 200 μm/h without complete test conditions. This is not a universal processing cycle time. |
| Result review | Use the captured images to assess the observable area, structural integrity and surface residue. |
From the package exterior to internal structures
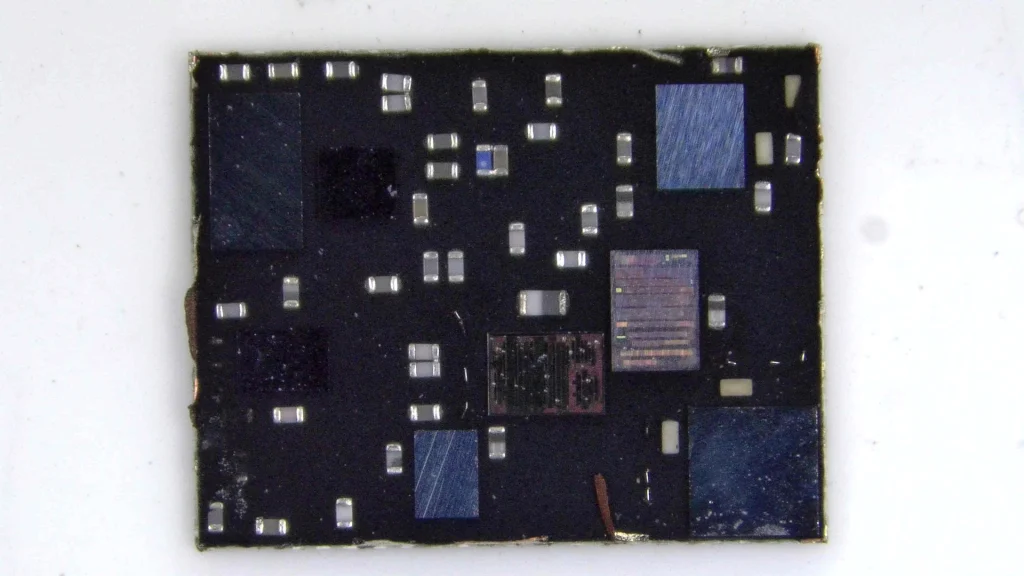
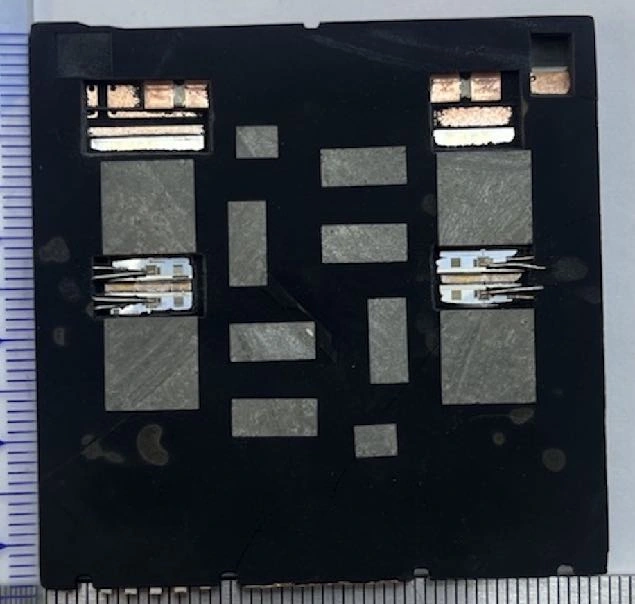
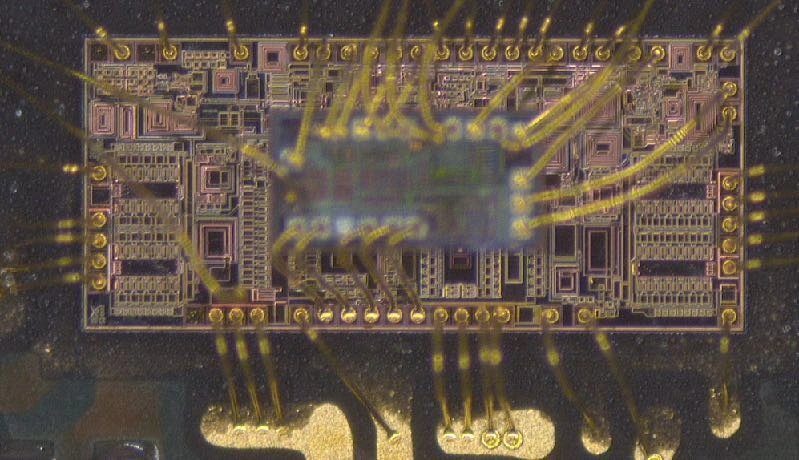
Initial condition and a later exposure stage from the same sample sequence.
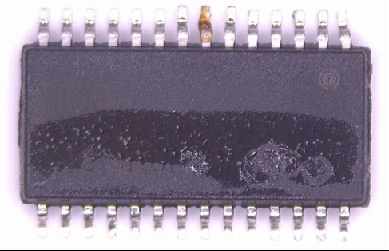
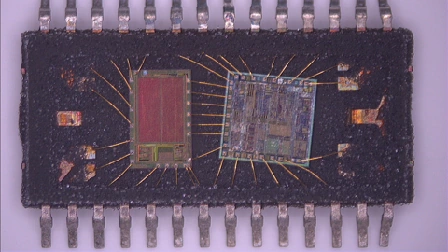
SiP decapsulation and passive protection → Stacked-die decapsulation →
Build a recipe around your product.
Share the package and material details, target region, structures to preserve and subsequent analysis requirements. ICDECAP can evaluate the sample and establish an appropriate opening route and process settings.